Knowing that I couldn't attend the Christmas shindigs or even stay in my own house to watch old Christmas movies really stung, so I was determined to make Christmas Eve fun for me- by making a hat. An ostentatious, LED lit marvel of amateur hat-making science.
 | ||
| This baby. |
I had no pattern to help in making this so I sort of followed my own mind. It was actually fairly simple to make once I had assembled all the materials. I'll include pictures of the less common ones.
Materials:
Two sheets of craft felt
Two Hair extension combs
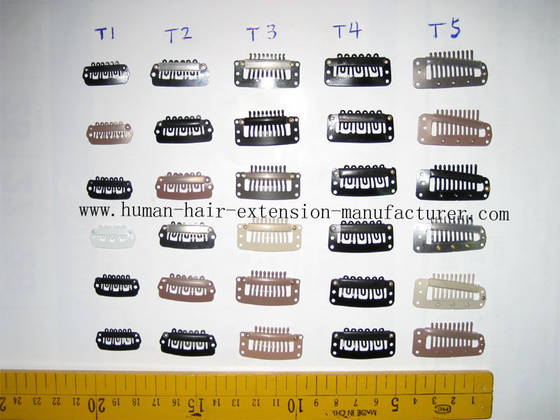 |
| Hair Extension Combs: Photo From Human Hair Extension Manufacturer.com |
Hem Tape
 |
| I used something similar to this |
Christmas Trimmings
Scissors
Wire
Instructions:
1. Cut the felt into ovals. They will be your hat base.
2. Mark where you want to place the combs (it's important that they're opposite one another otherwise it will fall off your head) Hand sew them to one of the felt ovals.
3. Assemble your Christmas Trimmings (I got most of mine from the dollar store). Determine the basic layout you want them in before sewing or gluing them down.
4. Hand sew or glue (E6000 for the win!) your Christmas Trimmings to the other oval of felt. I wanted a light on my hat so I had to cut a hole so that I could reach the switch. I also wired a little golden Christmas tree light cover to it so the naked LED bulb wasn't showing.
5. Hand sew the two felt ovals to one another, making sure the combs and decorations aren't sandwiched between the felt layers.
6. Measure the perimeter of the felt ovals, and cut the wire to that length plus 2 inches. Twist the ends of the wire over it to secure them so they don't poke you in the head, then shape it to fit in your felt ovals.
7. Hand sew one side of the hem tape to one side of your felt oval. Fold the hem tape to the other side of the felt oval, tuck the wire in the fold, begin sewing the other side of the hem tape to your hat base, keeping the wire oval inside the pocket formed by the hem tape. Complete a full circuit around your hat, knot the thread, tuck the end into a hidden spot under the hat and wear.
It's just that easy. Why don't you try it?
Hi, Ren! Thanks for the sweet comment over on my blog - I had to come and see what you've been up to. Love this little hat - I wish you had a pic with you modelling it! I was reading through your recent posts and found your hair conditioning regimen - I am going to try it, my kinky, dry, Jewish-girl hair is in dire need!)
ReplyDeleteWow! I'm super flattered Ms. Michelle! Well, I've gotten some new hats created now with odd bits and bobs I've nicked from my mom's sewing UFOs- so hopefully I'll post some pics with ME in them this time.
DeleteI'm really glad that the hair care process might be of use to you. I wasn't sure how informative people would find it. ^_^ If I help ONE person, then I've more than done my job.