 |
| YES!! Wait...No. Not like that! You're doin' it wrong! |
Materials
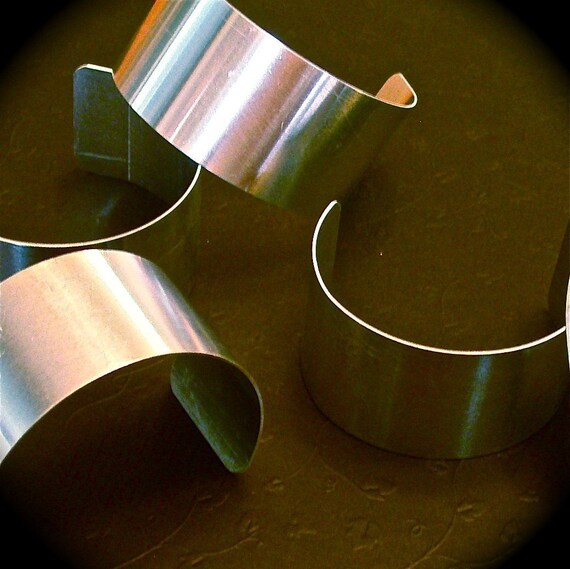
1 Unfinished Aluminum cuff blank1 Nail File or some sandpaper (any grade)
1 Toothbrush
1 Surgical/contractor's mask
1 Pair of Goggles (high school science class type)
1 Damp Towel
E-6000 Glue
1 Pair of Latex gloves
Proper Ventilation (Fan + Open Window)
Fabric
Additional Embellishments (optional)
Instructions
1. Safety: Make sure you have your goggles and mask fitted snugly on your face. Open the window and turn on your fan. Make sure the fan blows towards your work, but away from you. This is important. Filing causes little metal flakes to become airborne. They can get into your lungs, slice tiny microscopic holes in them and cause a lot of internal damage. You also don't want them getting into your eyes. Your skin will be fine though.2. Filing: Begin filing your cuff blank with the sandpaper or file. Use firm, even strokes. I recommend a circular motion to get the most texture to your cuff without making your fingers cramp. File/Sand the inside outside, and edges of the cuff.
3. Brush: I used a toothbrush, but a horsehair brush or a terry cloth rag will work as well. You'll want to clean off the metal dust clinging to your newly textured cuff so that it's clean and smooth for when you work with the glue.
4. Cut: Measure your cuff blank. Cut your fabric to about 1 inch + the length of the cuff and 1/2 inch + the 2 x width of your cuff. for example, I used the 1.5 inch wide cuff bands, so I measured fabric 8 inches long and 3.5 inches wide. This sounds unimportant or silly, but there's a reason for it.
5. Glue: Gluing takes place in 3 steps. I say three steps because you'll need to pause to give the glue some time to set a little before moving on to the next one. If you don't wait, the fabric will slide around as you try to cover the cuff. Also, use your damp towel to clean your fingers and the cuff off in case you get glue where you don't want it to go. This is a must. Gluey fingerprints can RUIN a bracelet.
- Take your E6000 glue and make a horizontal line down the center of the back of the cuff (aka: the part that will be against your wrist when wearing). Draw another line of glue across the top edge of the back of the cuff. Attach the fabric to the cuff, lining up the bottom edge against the center glue line. Smooth the fabric down evenly. Allow the cuff to rest for 30 minutes.
- Draw a line of glue horizontally across the center and ALL of the edges visible at the front of the cuff. Smooth the fabric over. Allow the cuff to rest 30 minutes.
- Draw a line of glue on the bare edges on the back of the cuff. Draw another horizontal line down the center of the cuff. Lay the remaining fabric over the back of the bracelet and smooth it down securely against the center glue line.
7. Allow the cuff to dry overnight, trim the excess fabric. Embellish as you see fit. Allow the cuff a couple more days to fully set.
8. Wear it.
Now, Check out some Cuff bracelets that I made!
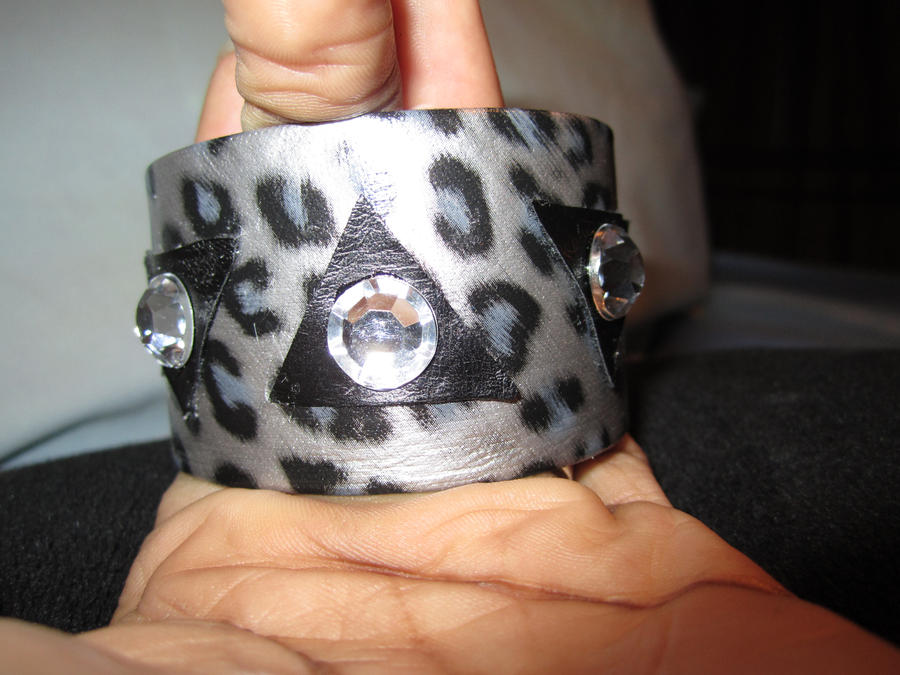 |
| Wild Side: The very FIRST cuff I made. Leatherette is a great starter fabric. It's easy to work with, stays where you put it, and looks neat no matter how sloppy you were with putting it together. |
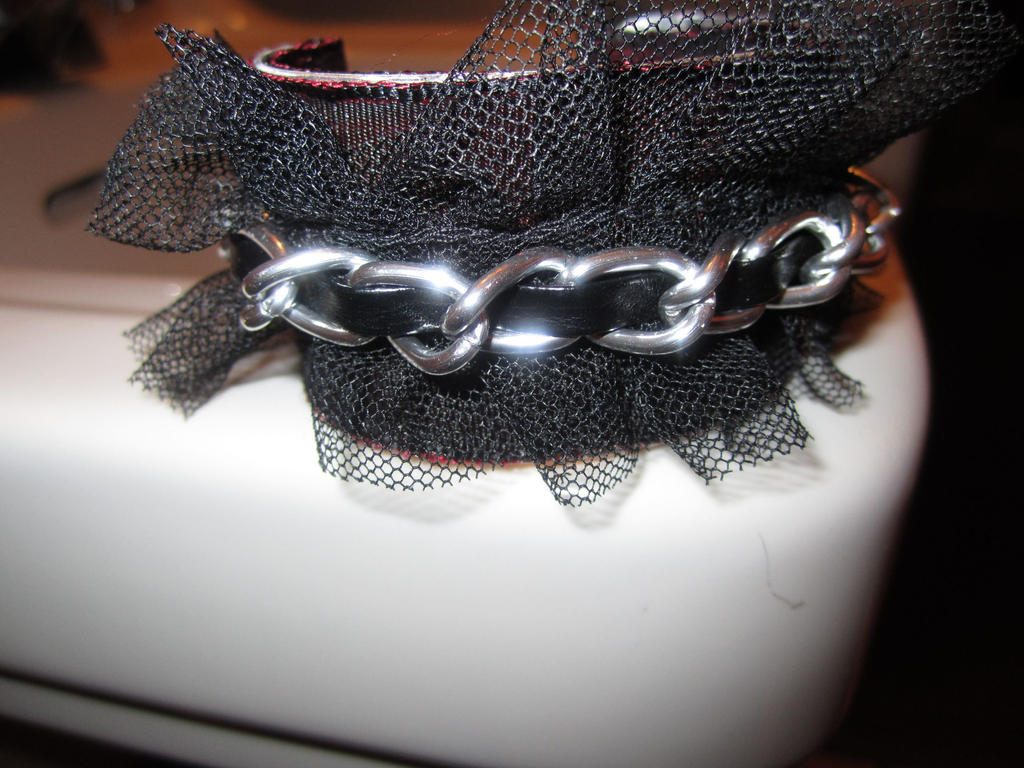 |
| Prowl: Made with tafetta ribbon, mesh, leatherette and chain. I was feeling adventurous. |
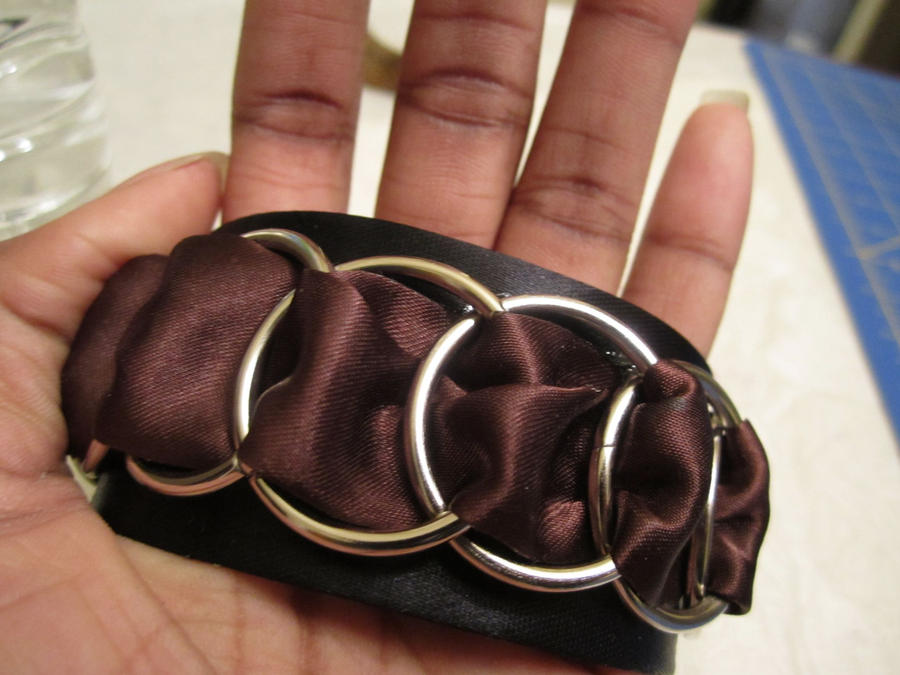 |
| Dark Magic Cuff. It's made with Satin, which is a beast to work with. I had to give this one time to dry COMPLETELY before I could work with it any more. Satin is a very temperamental fabric. |
 |
| Lion Tamer: One of the best cuffs I made. I was trying to get something more regal and classic. |
Cute, DD. I have one already. Wink, wink.
ReplyDelete